To Knead pizza dough can be both a therapeutic and crucial step in the pizza-making process. Properly kneaded dough ensures a uniform texture, proper gluten development, and a crust that’s both chewy and crispy. Whether you’re a beginner or just need a refresher, follow this step-by-step guide to master the art of kneading pizza dough
Table of Contents
- Freezing kneaded pizza dough for later use:
- Reasons for too sticky dough:
- Type of Flour Affecting Kneading:
1.Prepare Your Workspace:
- Clear a large, flat surface for kneading, such as a kitchen countertop or a sturdy table.
- Lightly dust the surface with all-purpose flour to prevent the dough from sticking.
- Have extra flour nearby for adjustments and to dust your hands.
2.Start with the Right Dough:
Begin with a fresh batch of pizza dough, whether it’s homemade or store-bought. It should be at room temperature before you start to knead pizza dough.
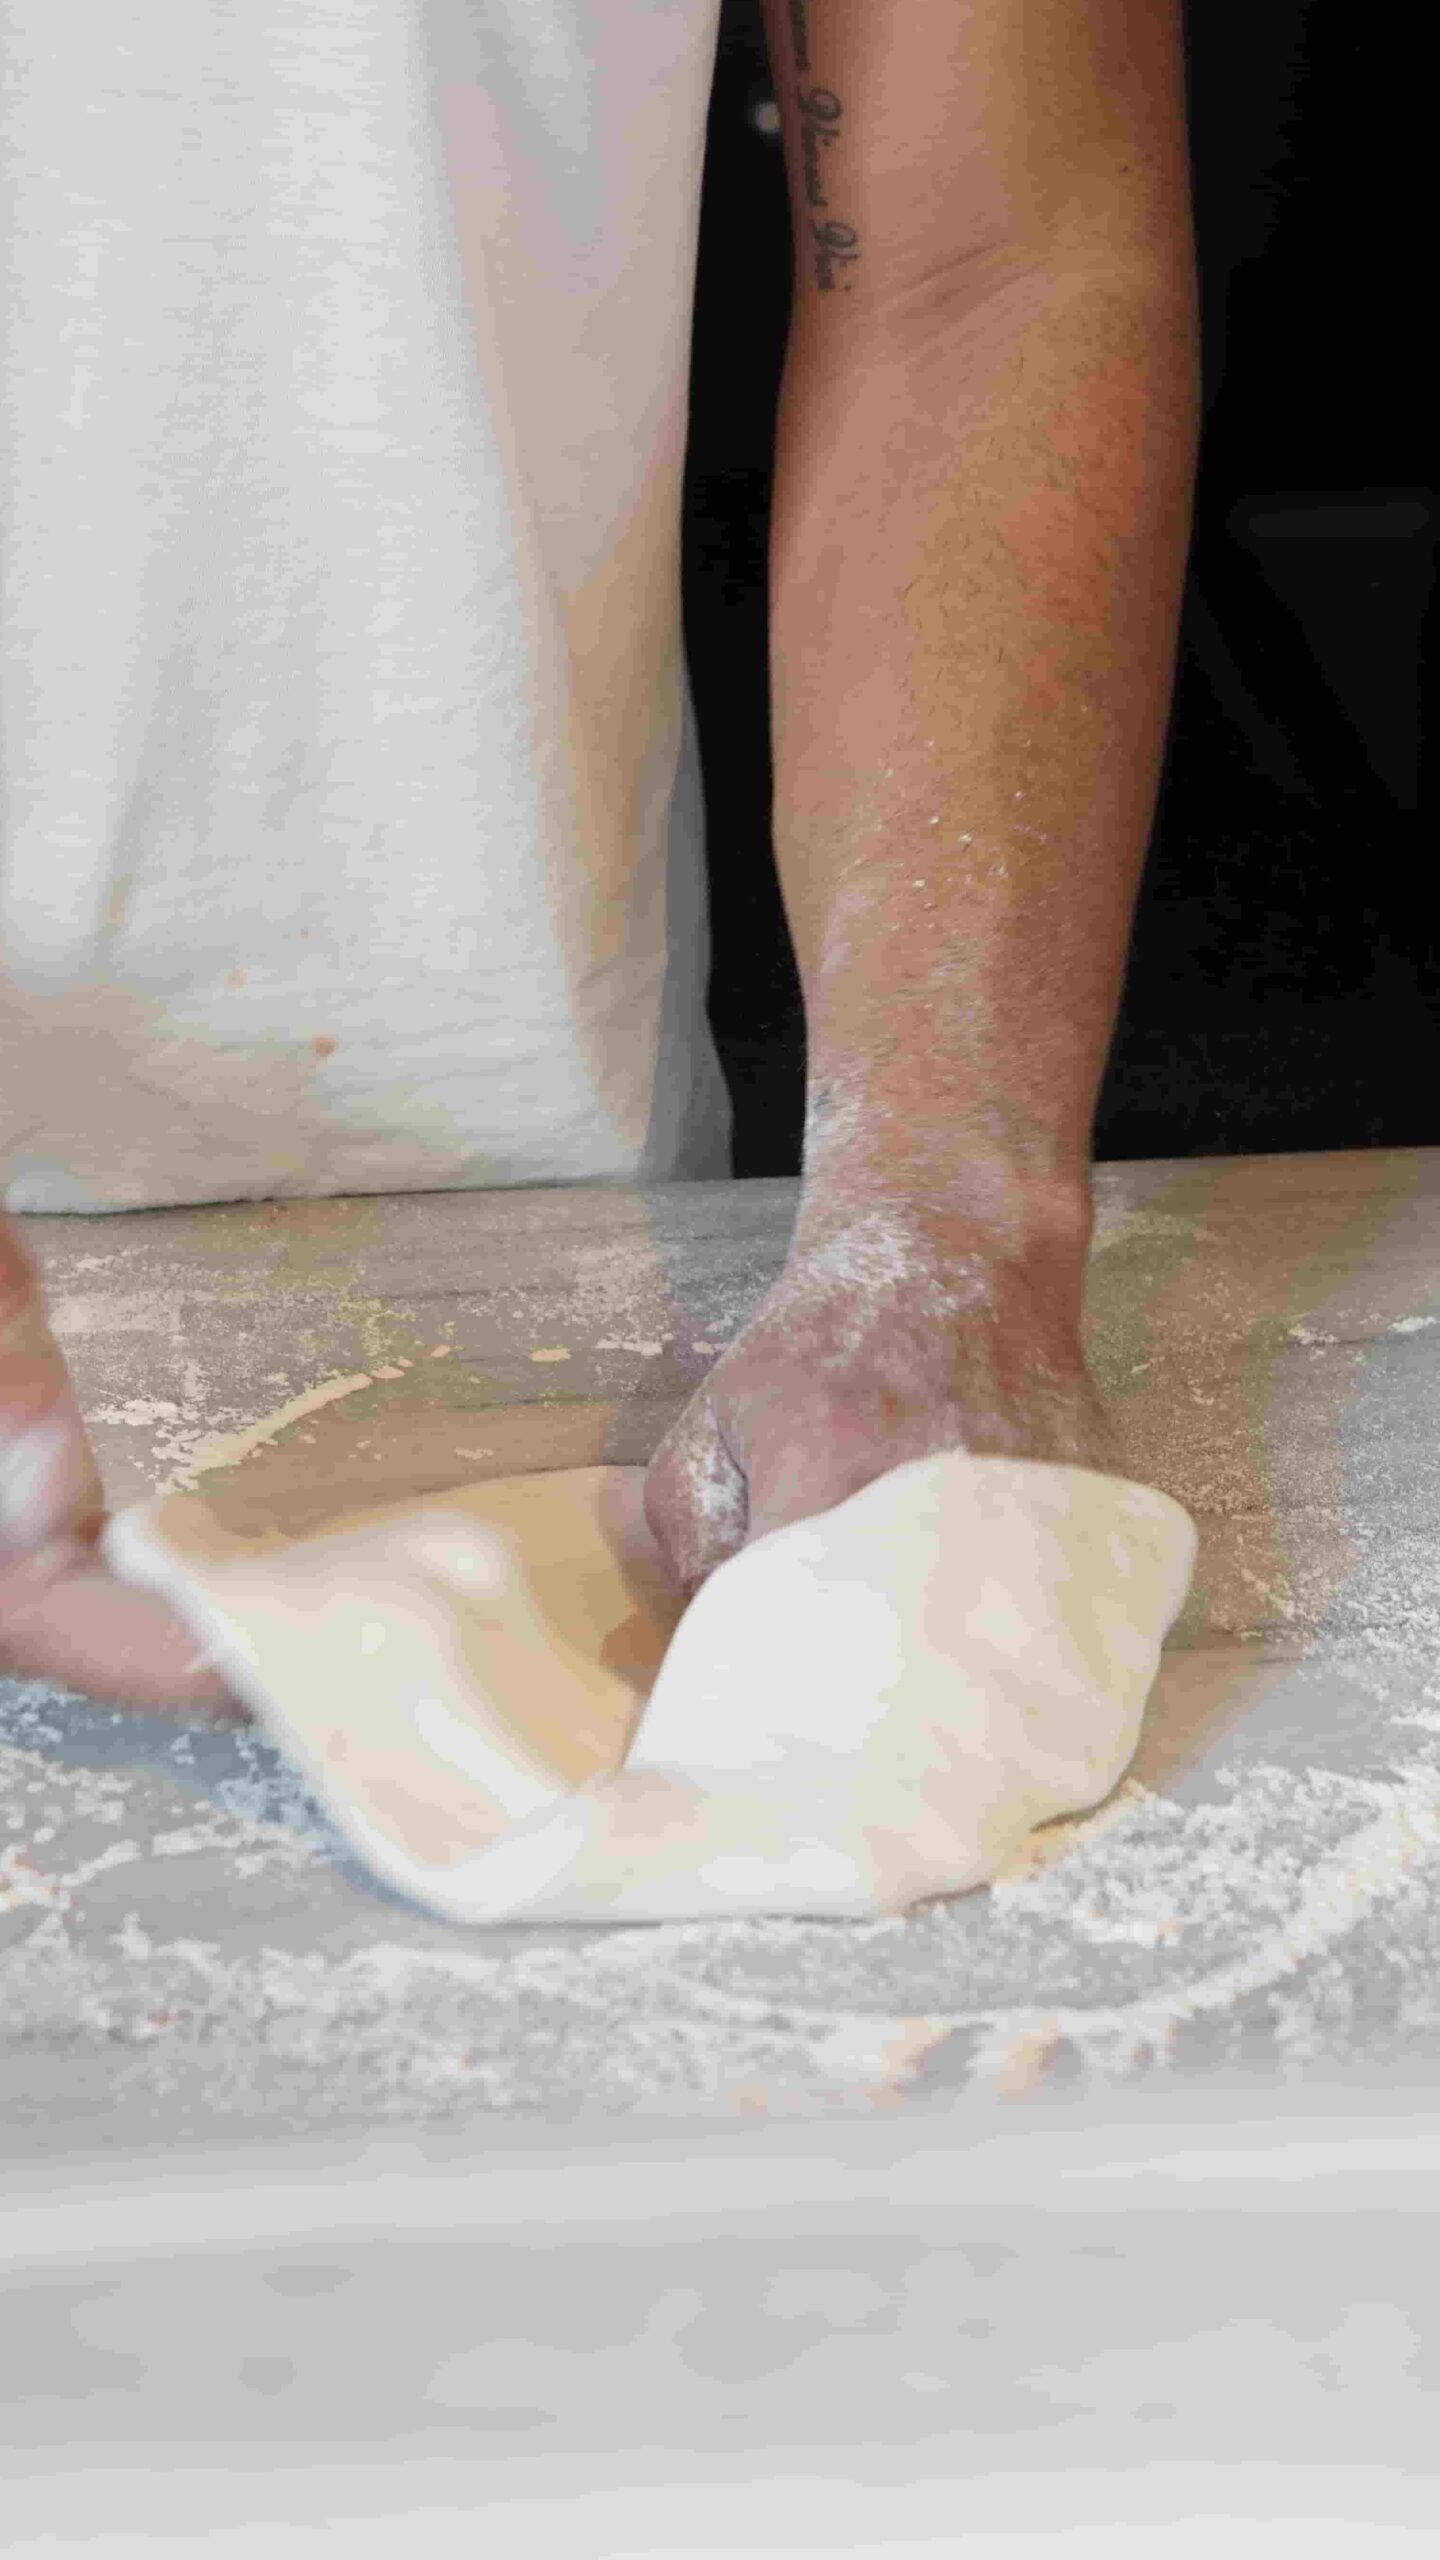
3.Begin the Initial Fold:
- Turn the dough out onto your floured surface.
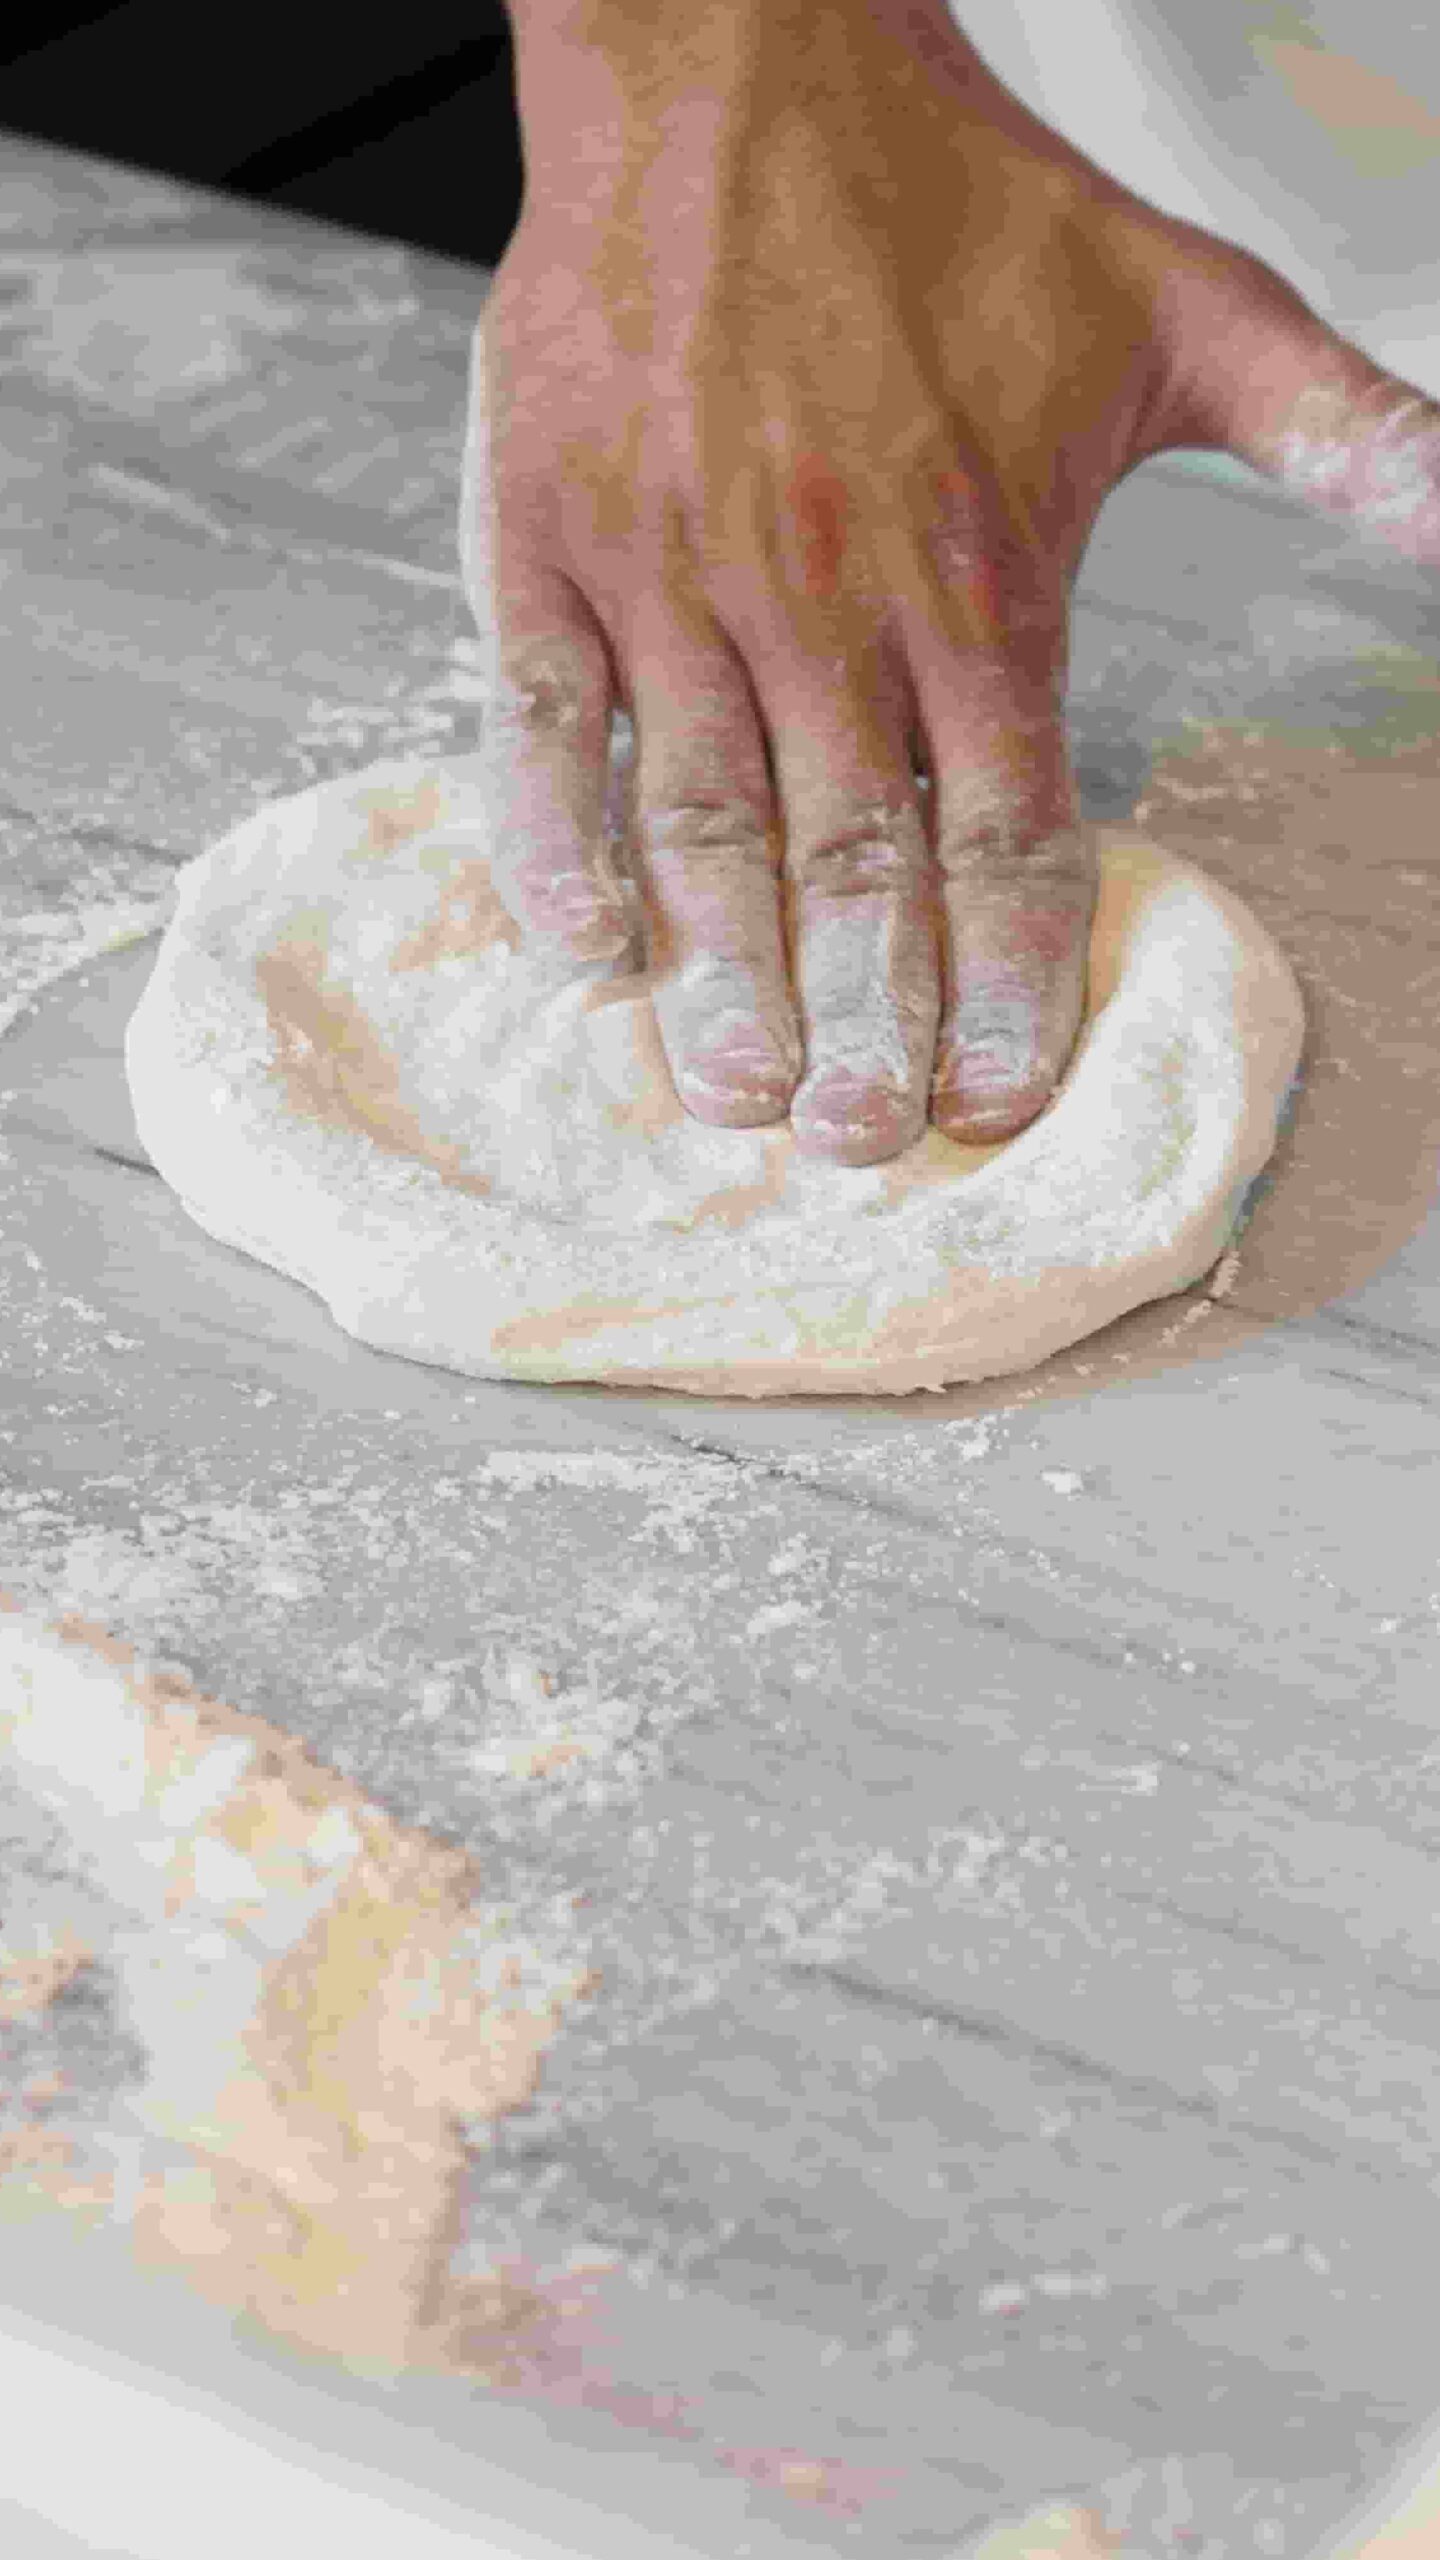
- Gently spread and flatten the dough into a thick disk using your fingertips.
4.Method to knead pizza dough
- Initial Handling: Flatten the dough gently into a thick disk.
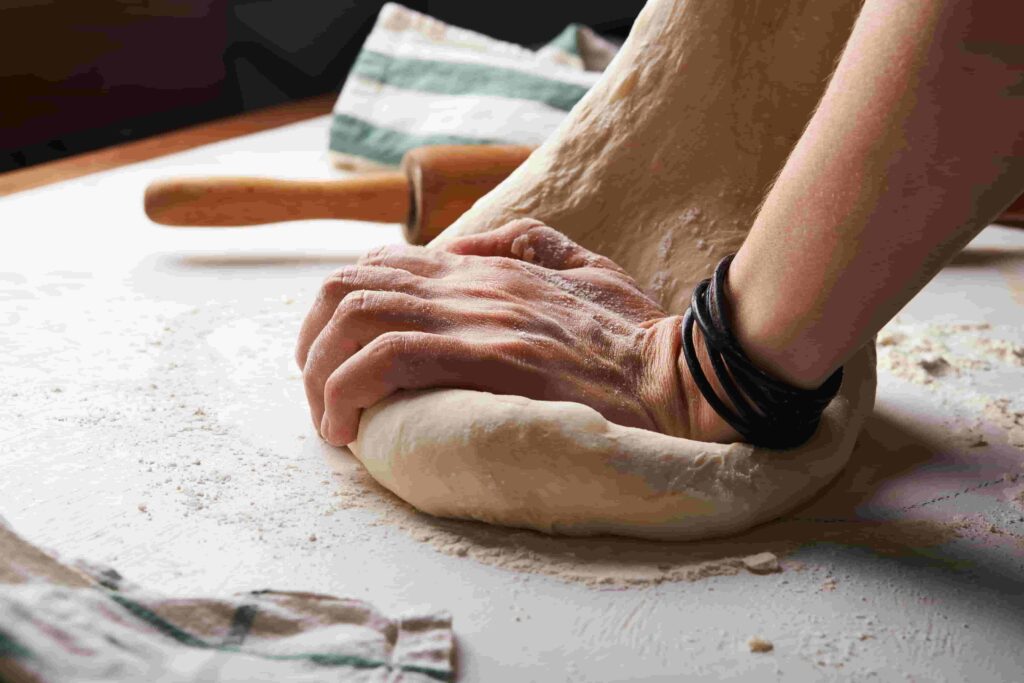
- The Knead: Push the dough using your hand’s heel, fold it back onto itself, rotate 90 degrees, and repeat.
- Rhythmic Repetition: Create a rhythm – push, fold, rotate – and stick to it. Your moves should flow seamlessly.
5.Establish a Rhythm:
Knead pizza dough requires a consistent, rhythmic motion. Aim for a steady pace that feels comfortable. The push, fold, and turn process should become a seamless cycle.
6.Check the Dough’s Texture:
The dough should gradually become smoother and less sticky. If it’s excessively sticky, sprinkle a little more flour onto your workspace and on the knead pizza dough. However, be cautious with adding too much additional flour, as it can make the dough dry.
7.Test for Readiness:
A properly knead pizza dough will be smooth and elastic. The poke test is a common method to check its readiness:
- Gently poke your finger into the dough.
- If the dough springs back quickly, it’s well-kneaded.
- If it doesn’t bounce back or if it deflates, knead for a few more minutes.
8.Duration:
Kneading pizza dough typically takes around 8-10 minutes by hand. If you’re using a stand mixer with a dough hook, it might take slightly less time.
9.Rest the Dough:
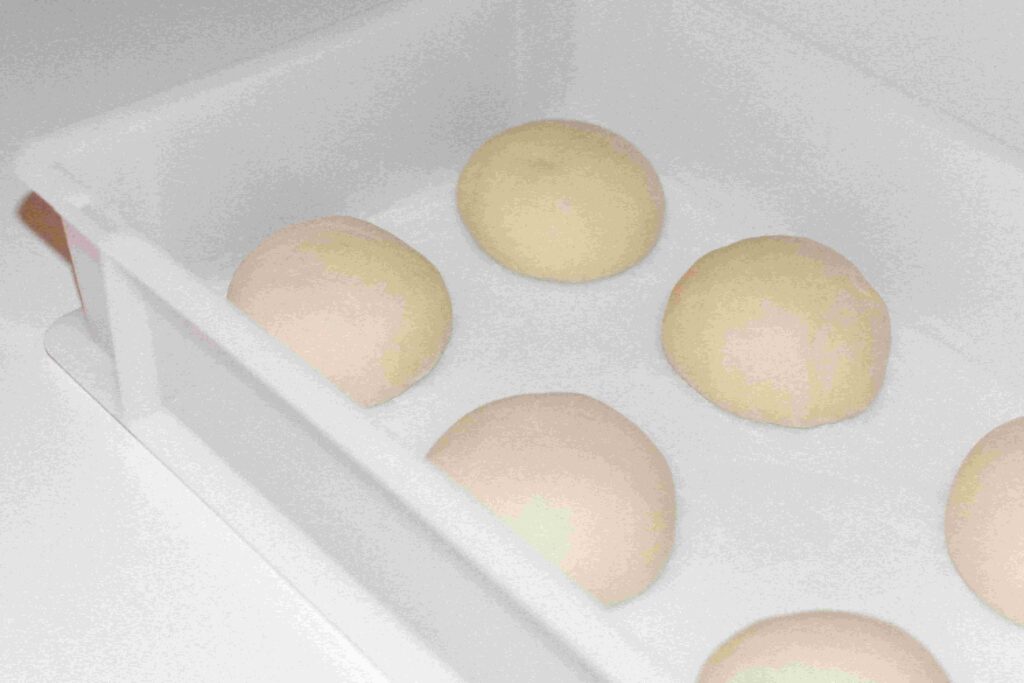
After you knead pizza dough to perfection, shape the dough into a ball. Place it in a lightly oiled bowl, cover it with a damp cloth or plastic wrap, and let it rest. This allows the gluten to relax, making shaping easier later on.
10.Cold Ferment (Optional but Recommended):
For an enhanced flavor and texture, let the dough rest in the refrigerator for 24 hours. This slow fermentation process allows for more complex flavors to develop.
Freezing kneaded pizza dough for later use:
For those who love making homemade pizza, preparing dough in advance and freezing it can be a time-saving trick.
Preparing the Dough for Freezing:
- Kneading: Ensure that your pizza dough is properly kneaded. This ensures a uniform texture and proper gluten development.
- Portioning: Before freezing, divide the dough into individual portions based on your typical pizza size. This makes it easier to thaw only what you need.
Wrapping the Dough:
- Individual Wrapping: Wrap each dough portion tightly in plastic wrap. Ensure there are no air pockets as air can cause freezer burn.
- Additional Protection: After wrapping in plastic, you can place the dough portions into resealable freezer bags for an extra layer of protection.
Label and Date:
As you knead pizza dough, use a permanent marker, label each package with the date and type of pizza dough (if you have different varieties). Pizza dough is best used within three months of freezing to maintain optimal flavor and texture.
Freezing:
Place the wrapped dough portions in the freezer, ensuring they aren’t compressed by other items. Ideally, keep them in the coldest part of your freezer.
Thawing:
When you’re ready to use the frozen dough:
- Refrigerator Method: Transfer the dough from the freezer to the refrigerator and let it thaw overnight.
- Room Temperature Method: If you’re in a hurry, you can thaw pizza dough on the countertop for several hours. Make sure it remains in its plastic wrap until fully thawed
Second Rise:
Once thawed, allow the dough to rise a second time. Place it in a warm spot, covered with a damp cloth, until it has doubled in size. This can take anywhere from 1 to 5 hours, depending on the temperature and specific dough recipe.
Shaping and Baking:
Shape, top, and bake the knead pizza dough as you typically would. Thawed dough should perform similarly to fresh knead pizza dough if properly stored.
Can You Refreeze Thawed Pizza Dough?
It’s best not to refreeze thawed pizza dough. Refreezing can degrade the yeast’s performance, leading to uneven rises and a compromised texture.
Reasons for too sticky dough:
When you’re in the midst of baking and find your dough is too sticky, it’s a frustrating experience. However, if you master to knead pizza dough and understand the reasons and solutions for sticky dough can make your baking journey smoother. Let’s explore the primary culprits and their fixes:
Too Much Liquid:
Cause: An imbalance between the liquid and flour in your recipe can cause disaster to knead pizza dough.
Solution: Gradually introduce more flour as you knead until you attain the desired consistency, but avoid overdoing it as the end product might turn dense.
Insufficient Kneading:
Cause: knead pizza dough develops gluten and evens out moisture. If not done enough, the dough remains sticky.
Solution: Extend your kneading time, ensuring the dough transforms into a smooth, elastic ball.
Ambient Humidity:
Cause: On humid days, flour absorbs more moisture, causing the dough to become stickier.
Solution: Slightly reduce the liquid in your recipe or incorporate more flour to balance out the moisture.
Flour Type:
Cause: Different flours have varied protein content, affecting their capacity to absorb water.
Solution: Recognize the nature of the flour you’re using. If switching between flour types, adjust the liquid components to match.
Temperature of Ingredients:

Cause: Warm ingredients can lead to faster fermentation, which might increase the dough’s stickiness.
Solution: Whenever possible, use ingredients at room temperature or cooler to prevent premature fermentation.
Overproofing:
Cause: Allowing the dough to rise beyond the needed time can degrade its structure.
Solution: Adhere to the recommended proofing times in your recipe. The dough should double but not over-expand.
Excessive Yeast:
Cause: Too much yeast can speed up fermentation, making the dough stickier.
Solution: Always measure your yeast accurately and follow the recipe’s guidelines.
Type of Flour Affecting Kneading:
Different flours have varying protein content. The protein in flour, when combined with water, forms gluten – a network of proteins that gives bread and pastries their structure. Here’s a brief breakdown:
- Bread Flour: This flour has a higher protein content, ranging from 12-14%. Using bread flour will require more extended kneading to fully develop its gluten structure, resulting in a chewier texture, ideal for rustic bread and certain pizza crusts.
- All-Purpose Flour: A versatile option with a protein content of about 10-12%. It’s a middle-ground flour suitable for a variety of baked goods. Kneading times will vary based on the specific recipe and desired outcome.
- Cake Flour: With a protein content of only 6-8%, cake flour doesn’t develop as much gluten, making it perfect for tender baked goods like cakes and some pastries. If used in recipes requiring extensive kneading, the resulting product may be too soft or fragile.
- Whole Wheat Flour: This flour includes the whole grain, making it denser and richer in fiber. It might require more water and take long time to knead pizza dough to develop its gluten structure, but the end product will be heartier and have a distinct flavor.
- Durum/ Semolina Flour: Used primarily for pasta, this hard wheat flour has a high protein content but forms a different gluten structure, making it less elastic than bread flour. It often requires different kneading techniques.
- Also read: How long does pizza dough sit out?